Internet Explorer
Internet Explorer is not supported. Please upgrade to a more modern browser.
Billionaire City is a Java + Bedrock Minecraft city economy server where players start with little, work jobs, rent or buy property, own businesses, and build passive income inside a custom city.
The server is currently in beta, which means features, balancing, jobs, prices, and progression are still being improved with player feedback.
Java IP: billionaire.city
Bedrock IP: play.billionaire.city
Bedrock Port: 25567
On Billionaire City, you can:
Work jobs to earn money
Rent or buy apartments, houses, storage areas, boats, and corporate spaces
Save up for businesses and passive income
Upgrade your property and progress through the economy
Decorate your space with furniture and cosmetics
Use transport, pets, mounts, and voice chat
Play with both Java and Bedrock players
If you are new, your first goal is simple:
Join the server using the IP above
Use /jobs to pick a job
Earn your first money
Explore the city
Rent or buy your first property
Save toward your first business
Join the Discord for updates, events, and feedback
If you are ever unsure what to do, ask in chat or use /help.
/jobs - View and choose jobs/vote - Vote for the server and claim rewards/rules - Read the server rules/help - Get help with commands and server features/helpop - Contact online staff/discord - Join our Discord, if available in-game
Join the Billionaire City Discord for updates, events, feedback, and support:
billionaire.city/discord
If you want to support the server, you can visit the store:
billionaire.city/store
Purchases help fund hosting, development, builds, plugins, and future updates.
Billionaire City is still growing. If something feels confusing, too slow, too easy, broken, or unfinished, please tell us.
Player feedback helps shape the economy, jobs, property system, business progression, and future updates.
Thank you for being part of the city.
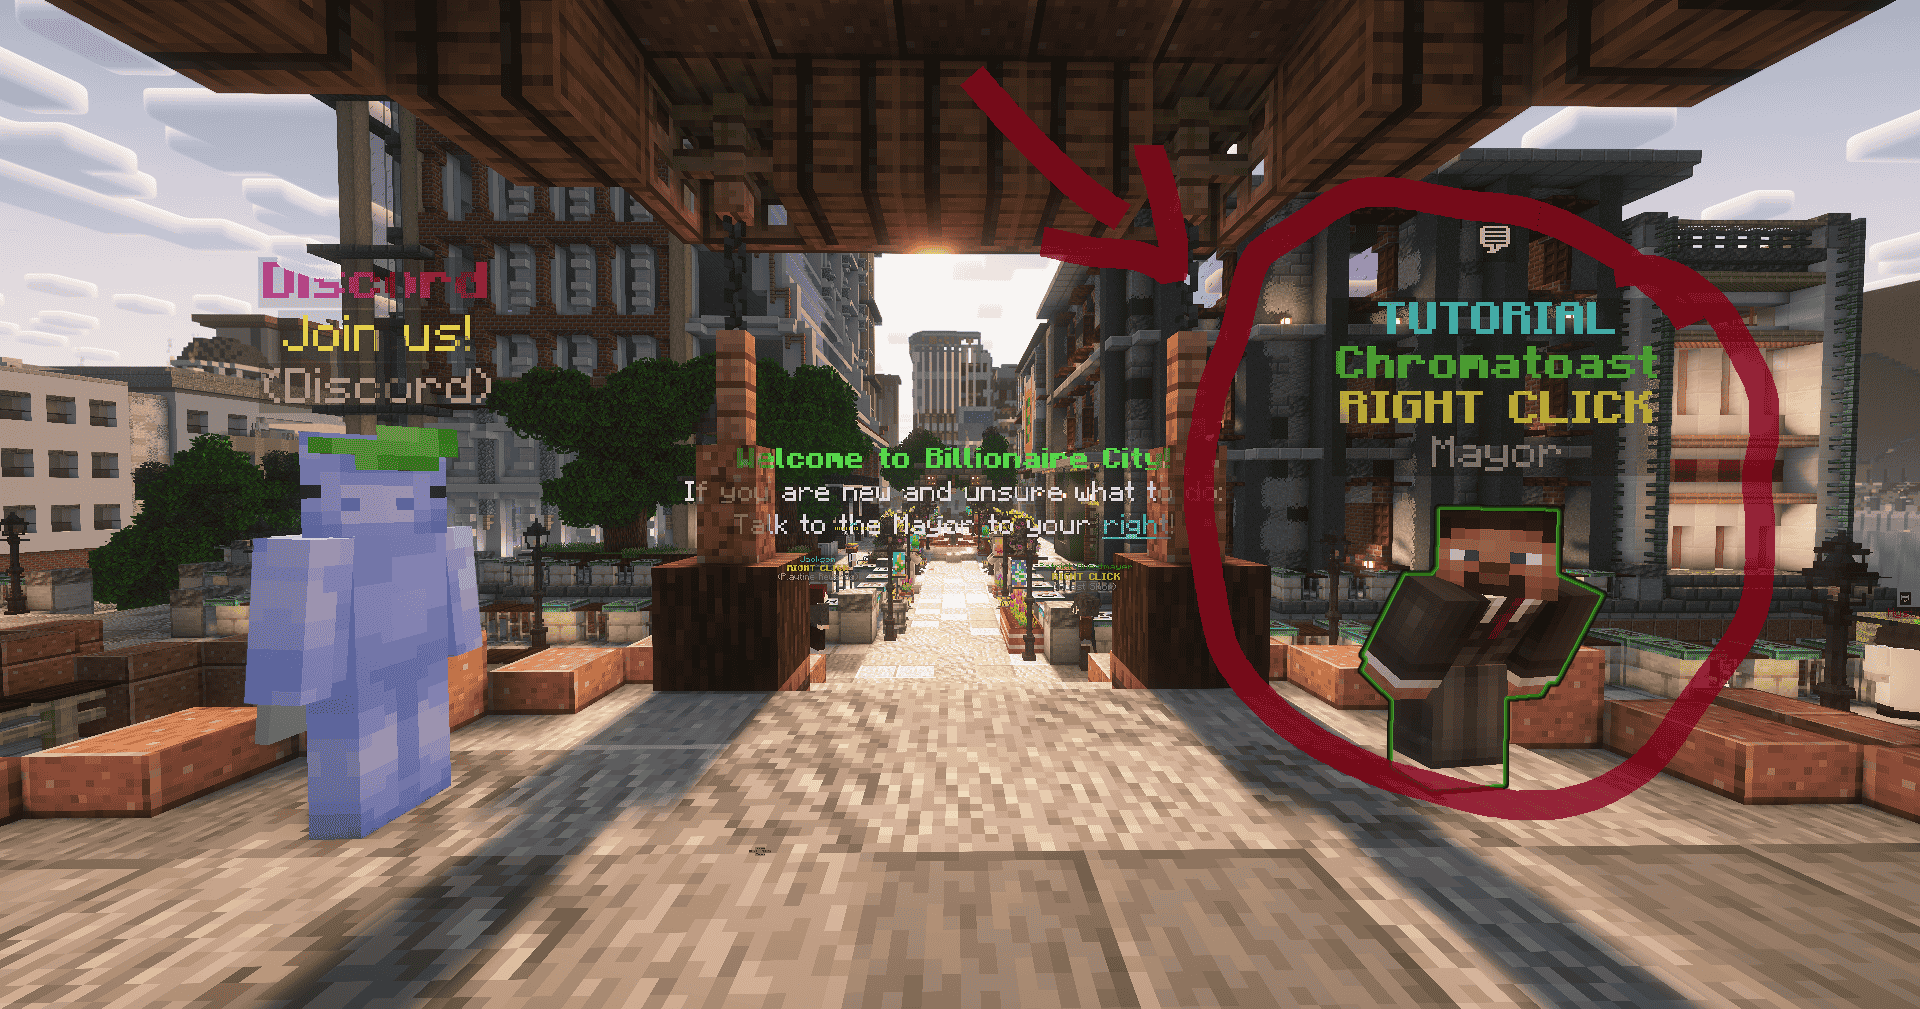
Welcome to Billionaire City. If you want a more interactive tutorial, give this guy a right click (he is a skinwalker, he stole your name).
If not feel free to sick around, il be covering whatever this guy has to say, plus even more!
When you first join, your main goal is simple: earn a bit of start-up capital, find your way around the city, and start making your mark, one step at a time.
Now, lets start with that first goal, earning a bit of start-up capital. There are many ways to earn money in Billionaire City (you will soon come to discover), a good starting job however is the Mine as it introduces you to many of the core mechanics of B-City (Billionaire City)!
Before we can start earning though, we have to get there, to do this you can use /taxi, or find a bus stop and head to the "B-City Mine" stop. You can also find your way around using /gps, this will navigate you through public transport till you get to your destination, in this case, the mine.
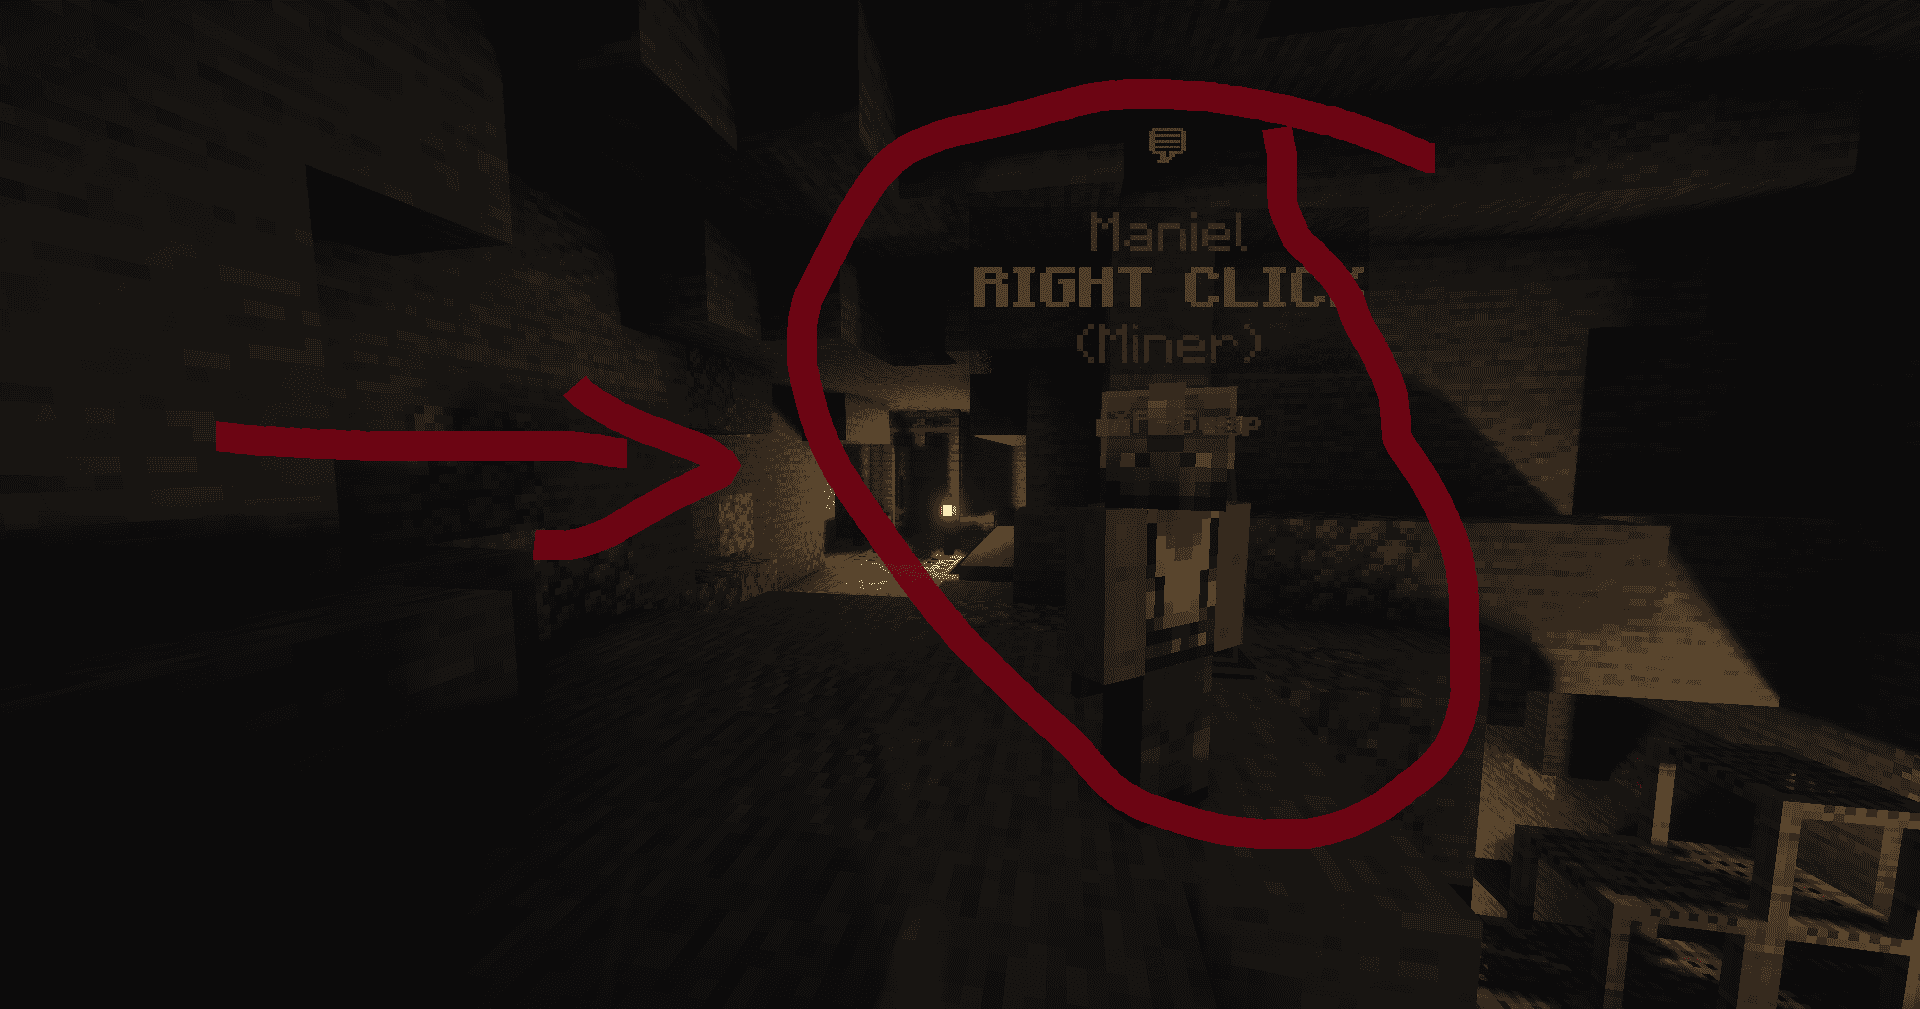
(Ignore how cursed this image looks, compression went funky)
Once you arrive at the Mine, head up the hill behind you and visit the Maniel the Miner (as seen above). Start the job through him and go ham mining Coal! As you level up mining, you will be able to get better tools to mine better ores! All jobs have a progression similar to this, so its good to familiarise yourself with it now. This is one of the easiest ways to start earning money and learning the inner mechanisms of B-City.
Voila, you have now earned your first bit of cash in B-City, what you do with it is up to you, you could save for a house, a corporation, or even a conglomerate, the world is your oyster, as they say.
REMEMBER: B-City is not a race! Take it at your own pace, B-City is a big place with a lot to do, but its important to remember that you are not alone and the community will always help you out if you get stuck or confused. We hope you enjoy your time with B-City, as much as we did creating it! :) - The B-City Staff
Well you're in the right place, check out the tabs on the side for more info on various topics and things you can do in Billionaire City!
Ok that's all from me now, see you on the streets of Belleview!
Some basic rewards and community links are available through simple commands.
Use `/claimrewards` or `/claimr` to claim rewards waiting on your account.
If you do not have any pending rewards, the server will tell you.
Use one of these commands to open the bonus menu if you are eligible:
- `/newplayer`
- `/np`
- `/returnplayer`
- `/rp`
The bonus can only be claimed when your account is eligible. The claim menu warns you before final confirmation.
Current reward contents may include:
- A temporary sell boost voucher
- Gold Rush tickets
- Platinum
Use `/namemc` or `/nmc` after liking the Billionaire City NameMC page.
NameMC page:
`https://namemc.com/server/billionaire.city`
If the like has not processed yet, wait a few moments and try again.
Use `/discord`, `/dc`, or `/disc` for the Discord link.
Discord URL:
`https://billionaire.city/discord`
Use `/store` or `/buy` for the store link.
Store URL:
`https://billionaire.city/store`
Use `/bplus`, `/billionaireplus`, `/rank`, or `/ranks` to view rank and premium package information in game.
This category contains everything you need to know about gear in Billionaire City, how to upgrade it, how to reforge it, stats buffs and so on.
The Hunting Reserve is a location where players can hunt cows, pigs, chickens, sheep, and rabbits. Players can travel there by clicking on the Clyde NPC next to the museum entrance at spawn.
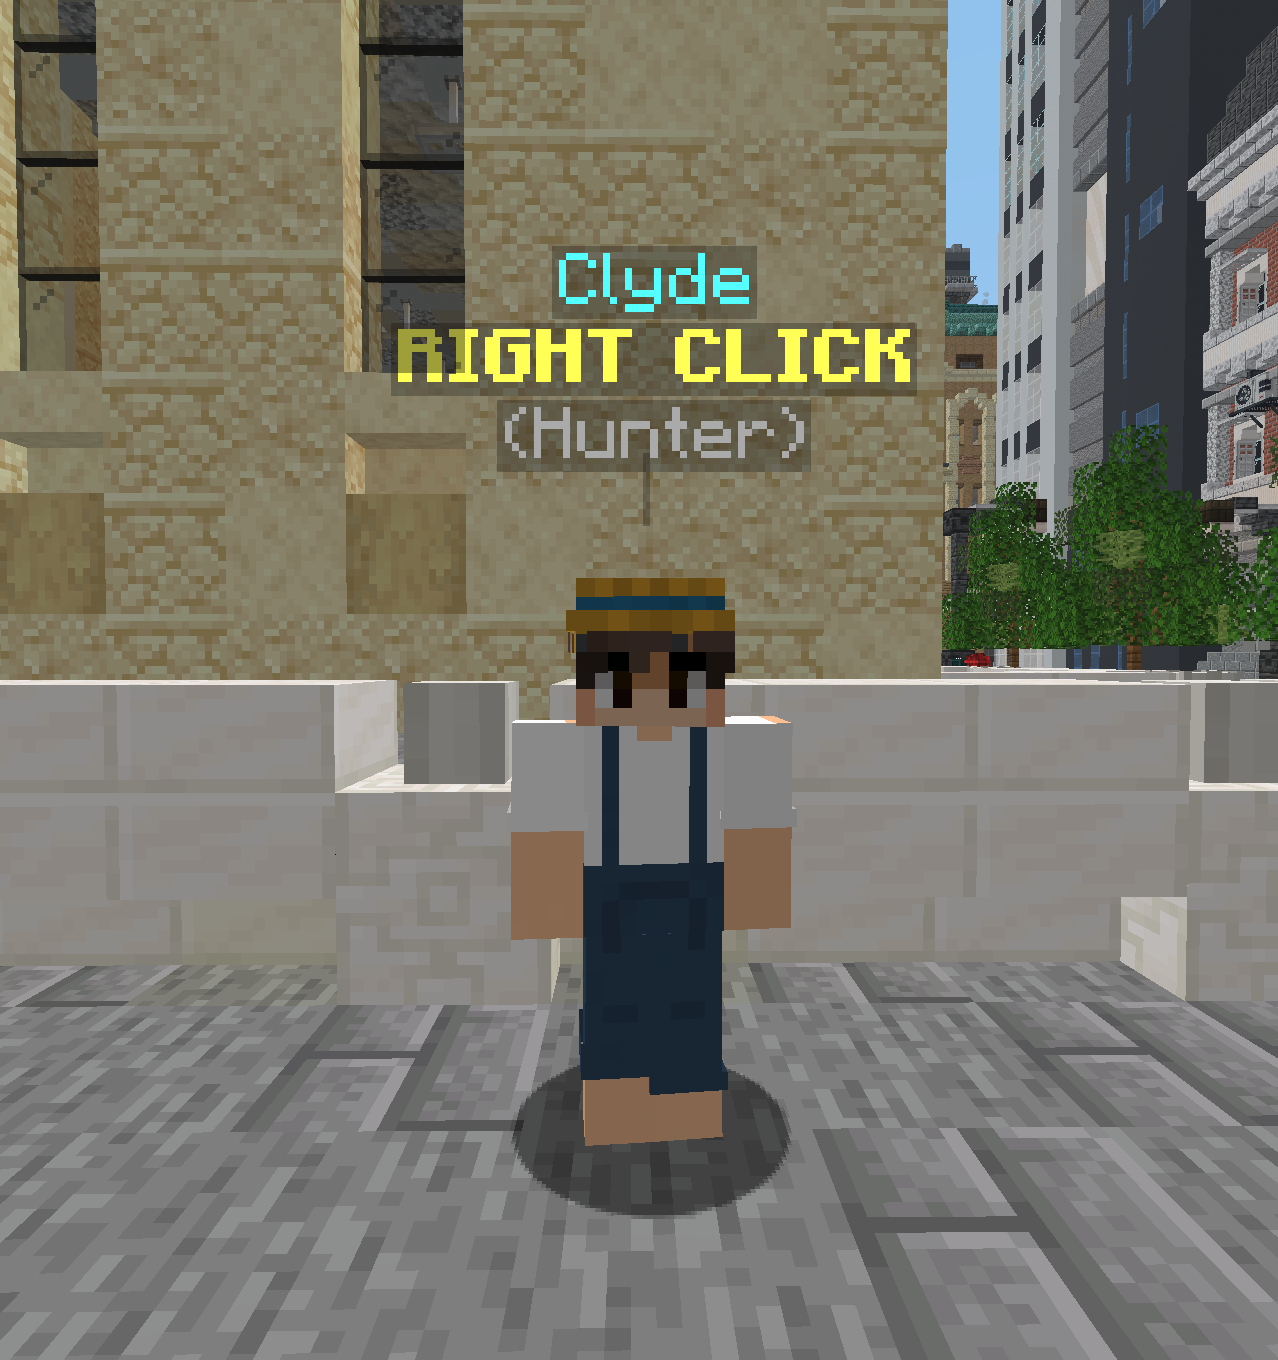
Animals spawn throughout four hotspots in the Hunting Reserve and drop their vanilla loot. It is a great source of food.
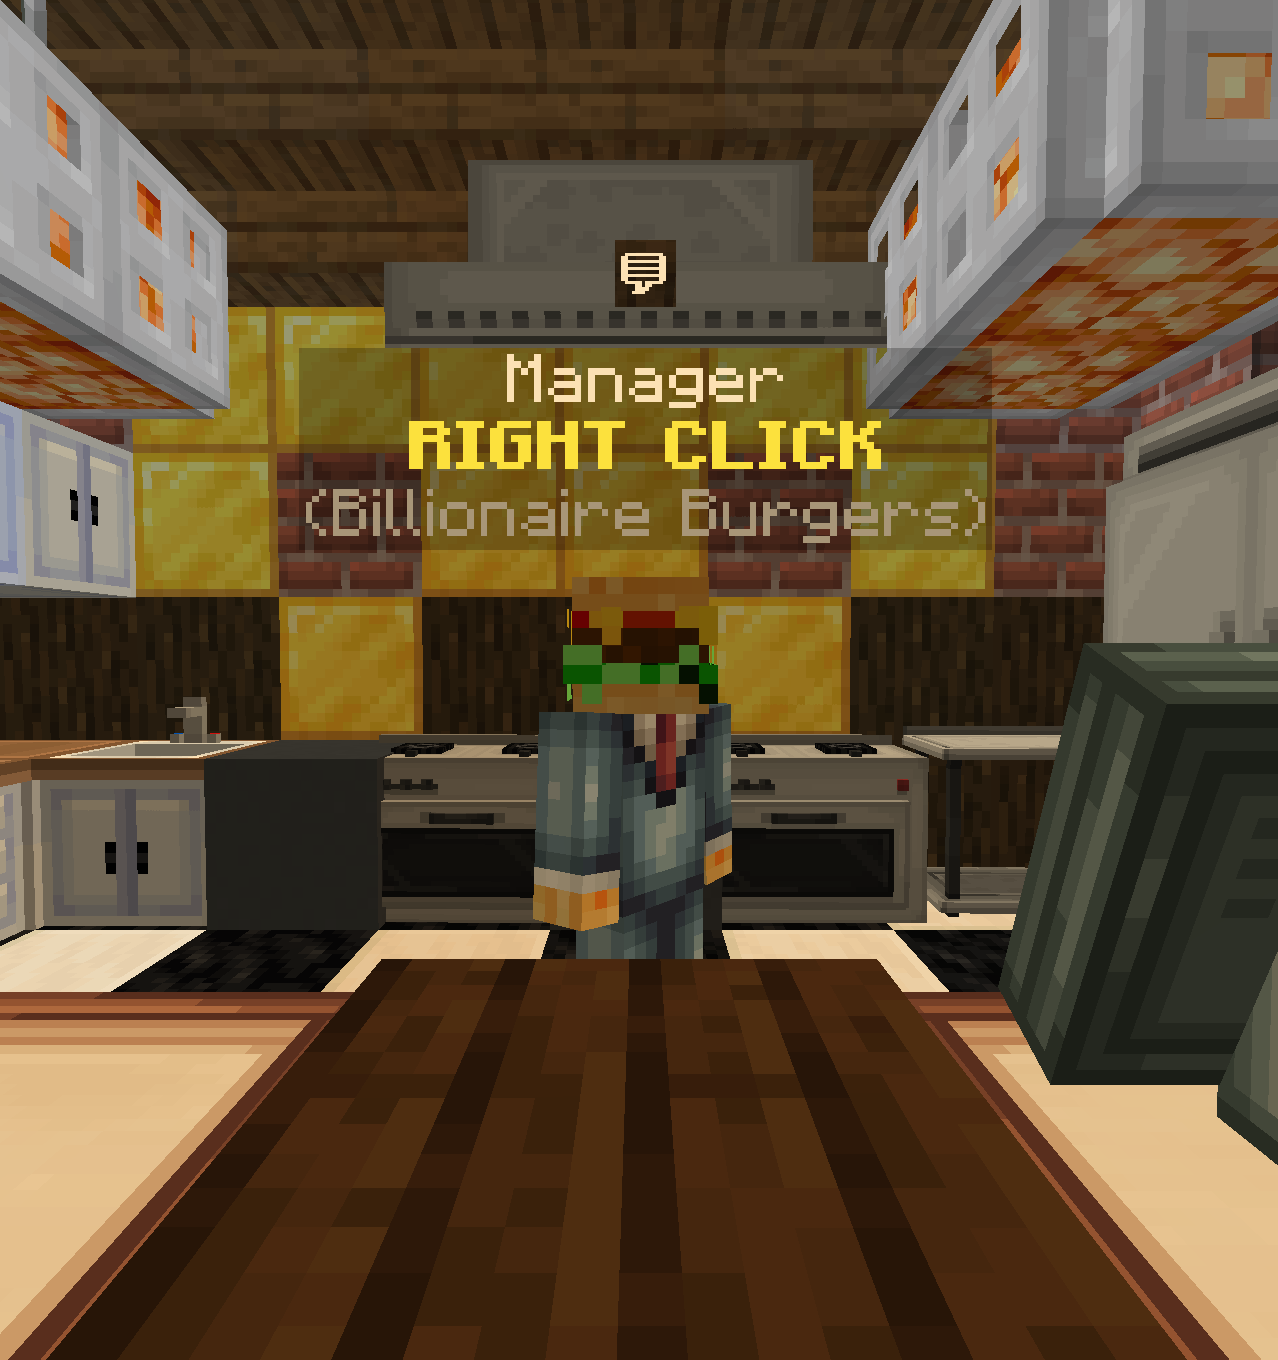
Billionaire Burgers is a restaurant where players can work as waiters and deliver burgers to hungry customers.
There are multiple Billionaire Burgers Locations around the Map and it is best to rely on the /gps to find the closest nearby Job Instance.
Current instances exist in B-City Industrial and at Billionaire Beach.
Initially when starting a Job, you are assigned a Customer to whom you have to deliver the order to. Each of the Customer NPCs has a number on its head, e.g. "Customer 15". When you are assigned to "Customer 15" e.g., all you have to do is right-click said customer and then go back to the Manager to get your next order. Your pay depends on how quickly you deliver orders to the respective customers. Occasionally the Manager will also throw in a nutritious Billionaire Burger for you.
The Miner is a very simple vanilla-inspired Job, which allows you to break and gather Ores. Initially you can only break Coal with your Starter Pickaxe, but as you level up your Miner Proficiency, you will unlock stronger Pickaxes that allow for more valuable Ore to be gathered.
You can easily reach the Miner Job by taking a Bus or Taxi to the B-City Mine Station. Then if you turn around and follow the brick stairs, you will find yourself in front of the Mine. Just talk to Daniel and start the Job right there.
| Pickaxe Tier | Required Miner Level |
|---|---|
| Wooden | 0 |
| Stone | 2 |
| Iron | 5 |
| Gold | 10 |
| Diamond | 15 |
| Netherite | 20 |
| Material | Minimum Pickaxe Tier | Required Miner Level |
|---|---|---|
| Coal Ore | Wooden | 0 |
| Deepslate Coal Ore | Wooden | 0 |
| Nether Quartz Ore | Wooden | 0 |
| Quartz | Wooden | 0 |
| Copper Ore | Stone | 2 |
| Deepslate Copper Ore | Stone | 2 |
| Iron Ore | Stone | 2 |
| Deepslate Iron Ore | Stone | 2 |
| Lapis Ore | Stone | 2 |
| Deepslate Lapis Ore | Stone | 2 |
| Redstone Ore | Iron | 5 |
| Deepslate Redstone Ore | Iron | 5 |
| Gold Ore | Iron | 5 |
| Deepslate Gold Ore | Iron | 5 |
| Diamond Ore | Iron | 5 |
| Deepslate Diamond Ore | Iron | 5 |
| Emerald Ore | Iron | 5 |
| Deepslate Emerald Ore | Iron | 5 |
| Amethyst Shard | Iron | 5 |
| Obsidian | Diamond | 15 |
Once you are done with the job, you can simply type /sell to sell all your gathered Ores for money.
Billionaire City is a Java + Bedrock Minecraft city economy server built around jobs, property ownership, businesses, and long-term progression.
Instead of a normal survival SMP, BCity takes place inside a custom city where players can start with little, earn money through jobs, rent or buy property, decorate their space, and work toward owning businesses that generate passive income.
The server has been around for a while, but it is currently being improved and balanced with the help of player feedback. Our goal is to build a small, active community where players can grow with the city, suggest changes, and help shape the future of the economy.
Whether you want to work your way up, own property, run businesses, explore the city, or just be part of a different kind of Minecraft server, Billionaire City is open to both Java and Bedrock players.
Java IP: billionaire.city
Bedrock IP: play.billionaire.city
Bedrock Port: 25567
- Be nice and kind to everyone
- Do not spam in the forum
- No cheating
- No spamming
- No advertising
- No bad language
